
10 Days In Peru
From landmarks like Machu Picchu, Rainbow Mountain, and the Colca Canyon to its widely regarded culinary scene, complete with ceviche and pisco sour, Peru is, in my opinion, one of the top travel destinations in the world. Unfortunately, compared to my ventures into Europe, planning was a little more complicated, with fewer articles highlighting what and how to book your trip.
After visiting in November 2023, I put together our own 10-day itinerary to help you get started. Keep in mind there is lots more we would have loved to see, and we started building a plan for what we would do next time we visit.
Day 1 Huacachina, Peru
Day 2 Travel Day - Huacachina - Lima - Cusco
Day 3 Cusco - Salkantay Trek
Day 4 Cusco - Salkantay Trek
Day 5 Cusco - Aguas Calientes
Day 6 Machu Pichu
Day 7 Rainbow Mountain
Day 8 Arequipa (original plan but ended up doing an extra day in Lima - this is what I would recommend for a visitor)
Day 9 Lima
Day 10 Lima
Flying from Canada, we faced a few delays in our layover in Houston, Texas and ended up in Lima at 3 a.m. So, we were not off to a great start, given that our real first day started at 8 a.m. (in 5 hours).
Day 1 - Huacachina
Our first day began at the Hotel Britania Crystal Collection in Miraflores. We had heard mixed reviews about Lima's safety, but Miraflores is known as a touristy and safe area. The hotel was conveniently located, just 9 minutes from the bus station (a short Uber ride away). We felt safe and comfortable in this area, and it was a great starting point for our adventure.
We opted for Peru Bus (Cruz Del Sur is another popular choice). It was easy to find, but our Uber dropped us off on the wrong side of the road, so we had to navigate the busy street. The bus ride was about 4 hours and comfortable, but it actually stopped in the town of Ica. Taking the bus will be your only option to get here (other than a car rental) since Huacachina has no airport. Peru Hop is the only bus that goes directly to Huscachina; the rest (including the one we took stop in Ica). From there, we took a local taxi from the bus station to Huacachina. Despite being warned about the safety of taxis, the local ones at the bus station were safe, and we were able to share our ride with another passenger from Uruguay who was on the same bus from Lima.
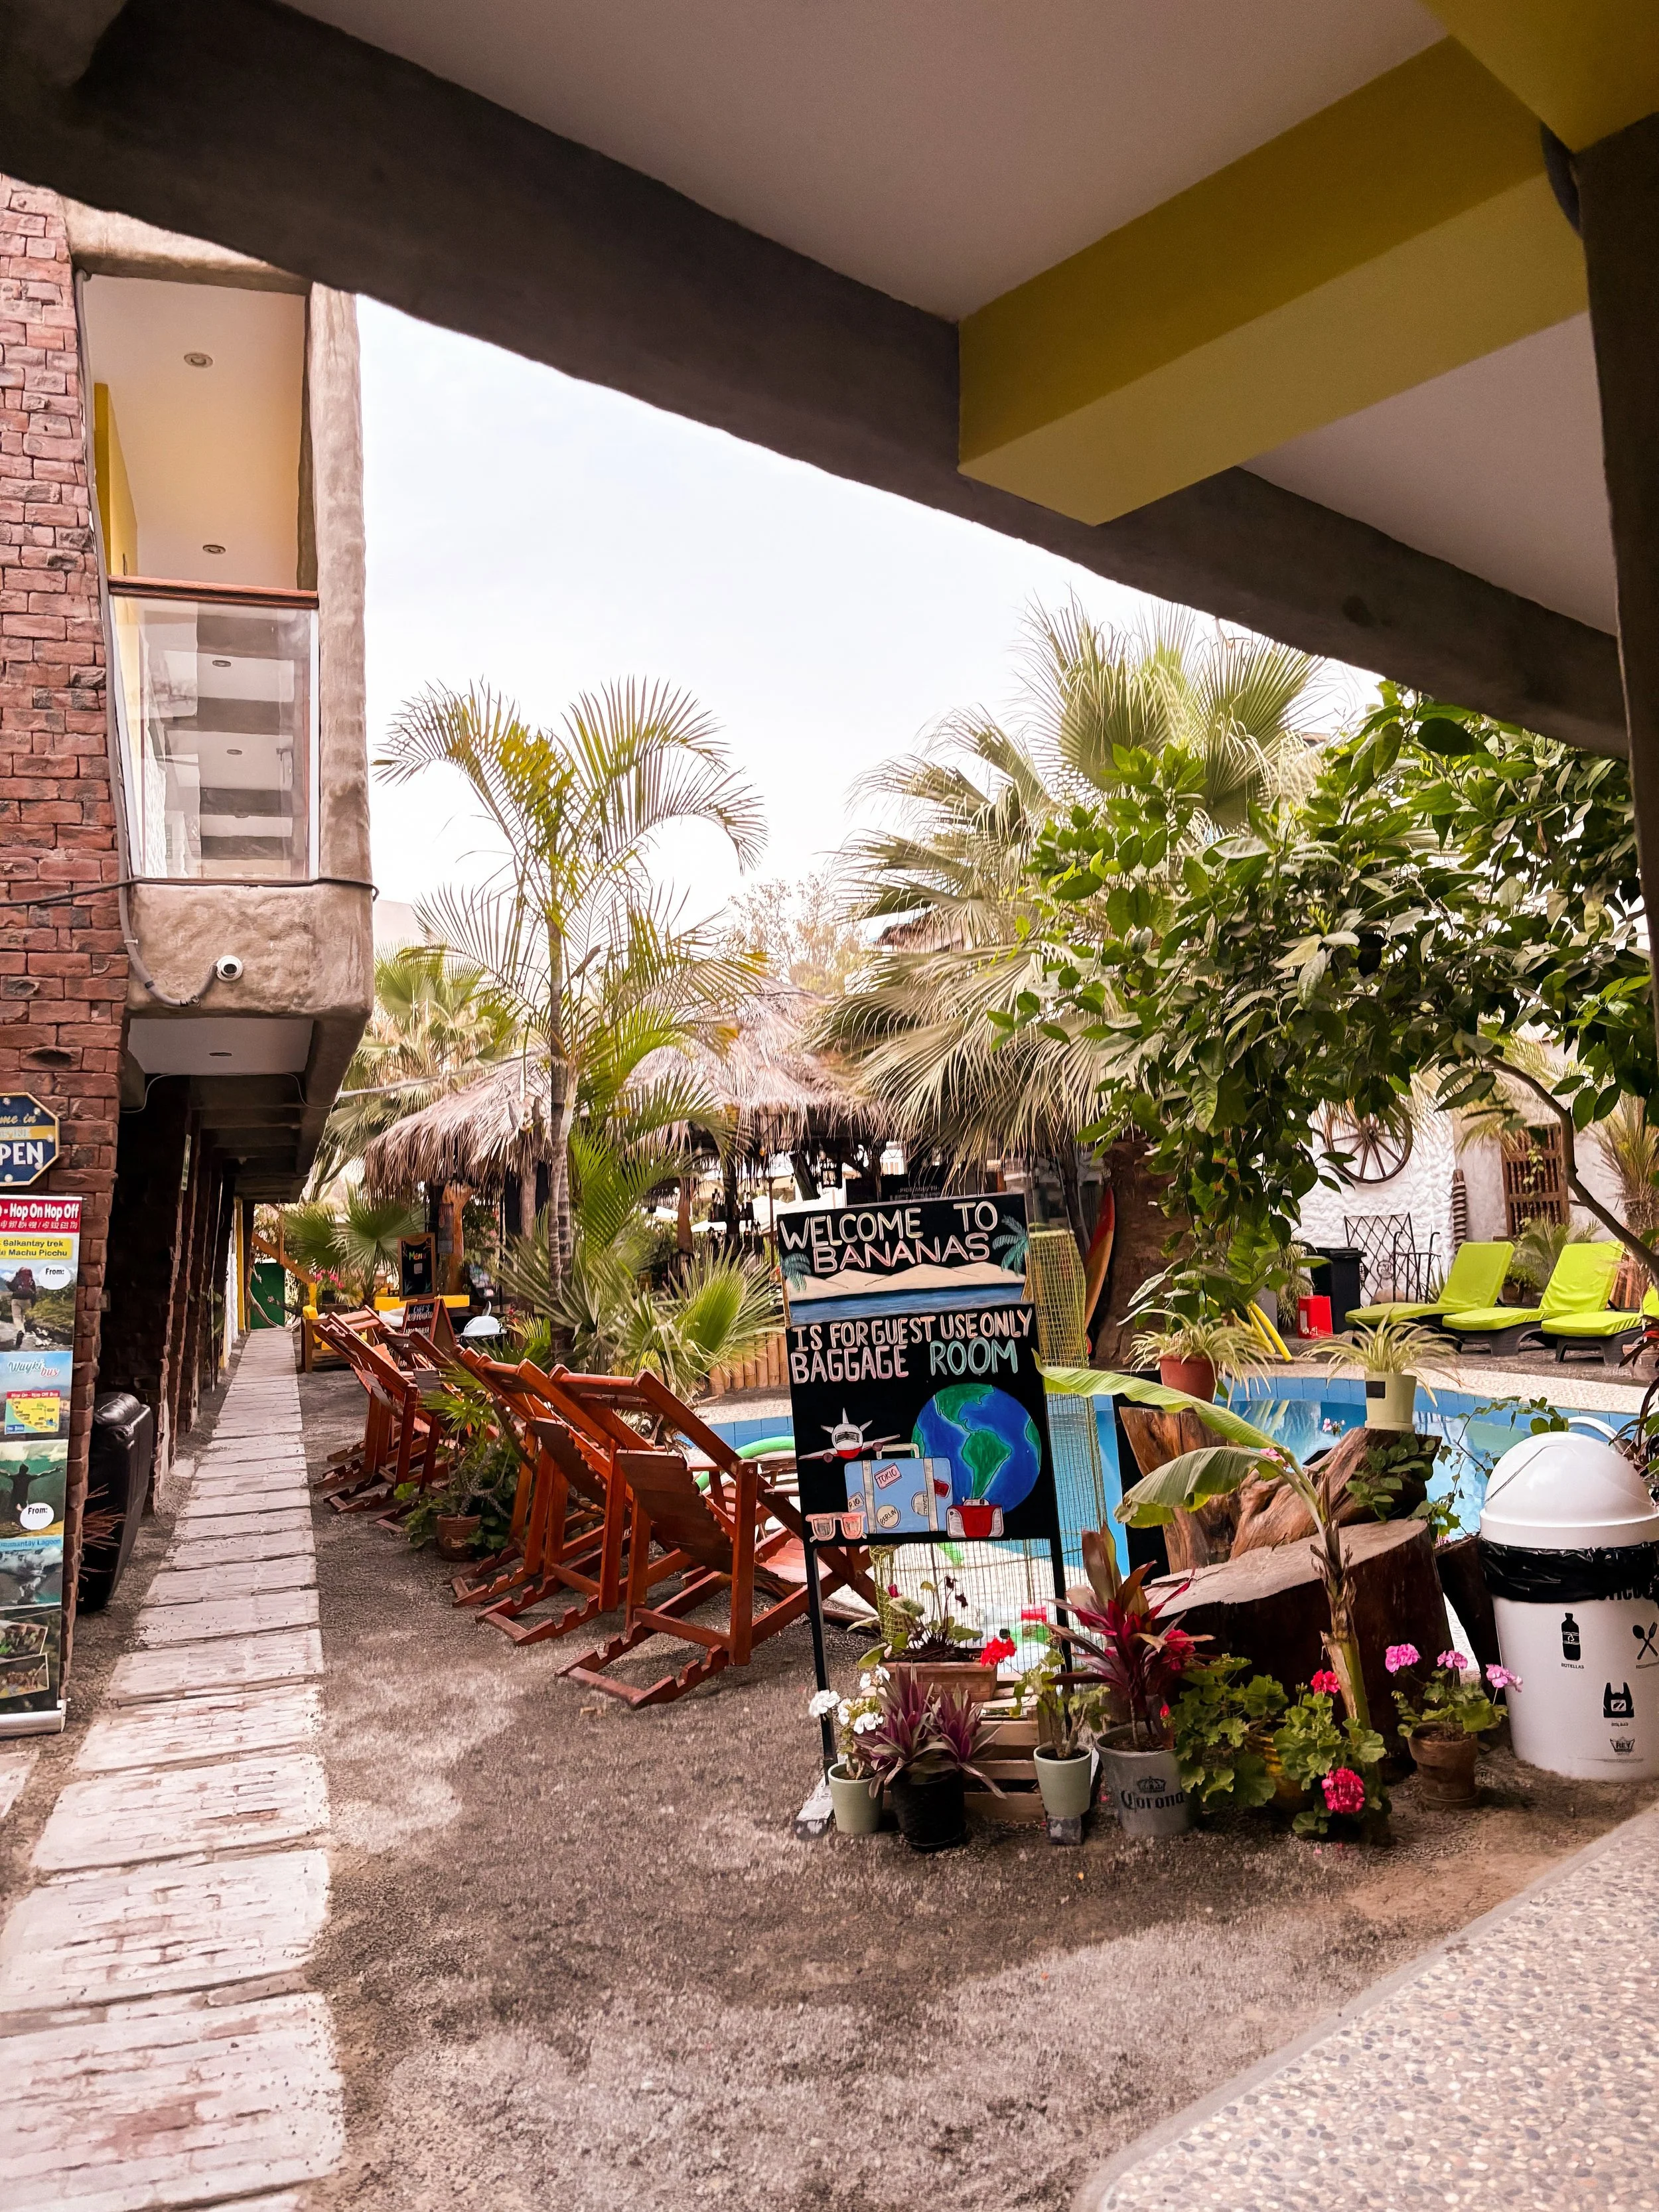
We ended up staying at Bananas Adventure Hostel, which is located in the Oasis of the largest sand dunes in South America. Here, we booked a private room, which was even a little nicer than the hotel we had stayed at in Lima. However, the best part of these accomodations was the location! Yes, these are the dunes pictured out our back gate.

We spent some time having lunch and taking a rest before we set off on our evening Dune Buggy at Sunset and Sandboarding Tour. From our accomodations, we could walk over to the starting point of our tour and walk back afterwards as well.


After we did a short lap of the Oasis before having dinner and going to sleep early, in preparation for a sunrise exploration of the sand dunes.

Day 2
We woke up for sunrise and wandered around the sand dunes. Lot's of great photos and unfortunately lots of sand in our shoes and clothes that we carried with us for the rest of the trip. From there we took a taxi back to Ica and caught our bus back to Lima. This time we did try Cruz Del Sur and found that we had no issues.

Once back in Lima, we walked over to a nearby gas station to grab some water and snacks before we caught a ride to the Lima Airport and flew into the historic town of Cusco. It was already dark by the time we arrived, meaning as we Ubered to our accommodations, we weren't able to take note of our beautiful surroundings, which included exquisite churches, markets and narrow cobble-stone streets.
We grabbed a quick dinner at one of the restauraunts in the touristy area, before heading back to our hotel the Tierra Viva Cusco Centro.
Day 3
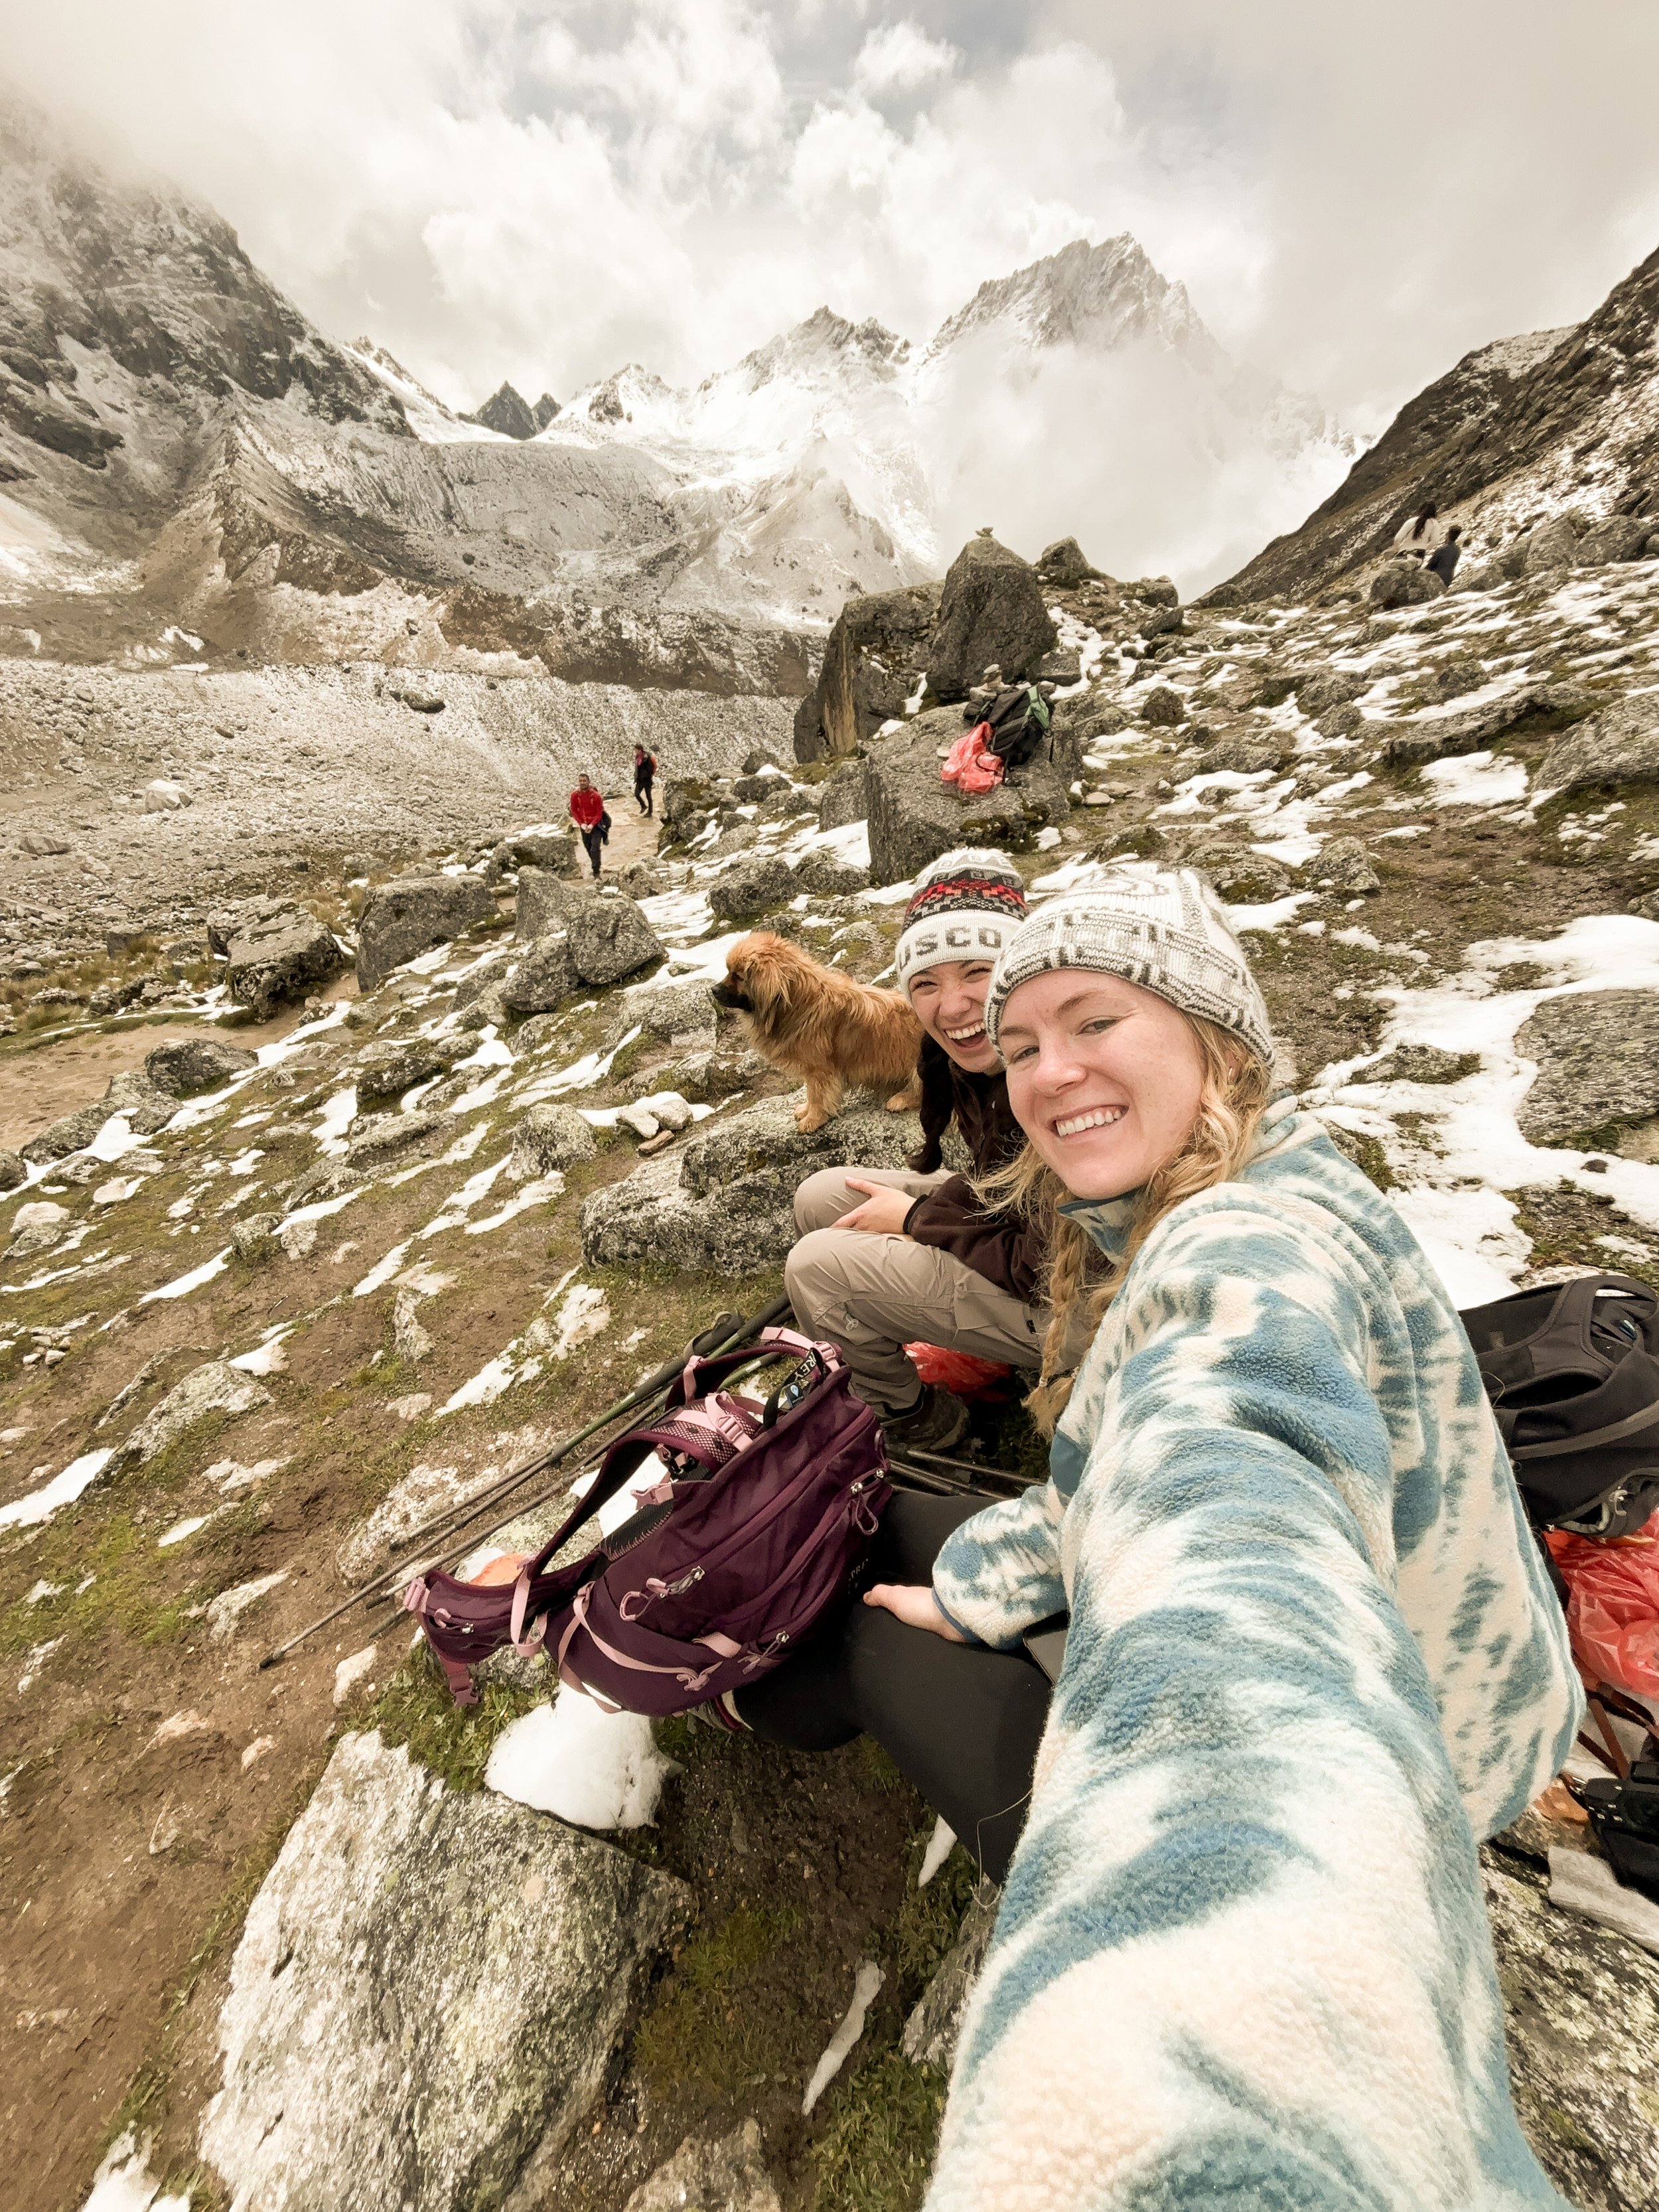
The Salkantay Trek takes you on what would be the first two days of the five day hike that goes to Machu Pichu. Since we were a little pressed for time (and my friend wanted to have photos of her dream destination of Machu Pichu in not wet clothing) we decided to just do the trek to Humantay Lake and Salkantay Pass, before we would return and take the train over to the world wonder.
Due to the high elevation, it is typically recommended you do a day or two in Cusco to avoid the pounding headache and lack of energy that come with altitude sickness. Unfortunately due to time constraints we also didn’t have time to factor this in and gave ourselves overnight to adjust to the altitude alongside some medication we got in Canada.
The tour started quite early since it was a bit of a drive to the starting point, however, our hotel provided us a bagged breakfast and we were able to nap on the way up. It is worth noting that we were wondering where to store our backpacks during the trek and made alternate arrangements. This proved to be unnecessary as we made a stop to store baggage (included in the tour price) and were also given duffle bags where we could store our things that we wanted to meet us at the camp but didn’t feel like carrying up.
The hike was moderate, although more challenging as it was pouring rain. Due to the uneven terrain I would definetly recommend a proper backpack and hiking shoes.
Day 4
Our trek continued the next day to Salkantay Pass, which is the highest point elevation wise that you would travel to on the full hike to Machu Pichu. The elevation is said to be around 4,600 meters. At this point I would highlight that acclimatization is often recommended since Altitude Sickness is real. In my personal experience, I found that although the hike wasn’t difficult, there was no scrambling, walking with a pounding headache is far from enjoyable (or easy!)
Day 5
Tierra Viva (8 SOL Uber - 3 CAD) wa chat station is close to Cusco city centre. From there we took the bus and the train to Aguas Calientes, better known as the gateway to the Inca ruins of Machu Picchu.
While there isn’t tons to see in the town, the surrounding mountains make for a one-of-a-kind destination. We ended up using our day 5 as a travel day to get here.
Day 6

I know many people say one side of the Vistadome train to Machu Pichu is better than the other so I tried to take notes on seat selection if you have the choice. Unfortunately, in our case we didn’t get to choose seats so it didn’t matter. But here were the notes I had jotted town. On our train going to Aguas Calientes seats 53 and 54 were facing, 51 52 were backwards, 46 45 were facing.
Day 7
hike up about an hour
Horse 70 PEN (90 ROUNDTRIP)
llamas at the top you can take photos with voluntary donation

Altitude is 5000 metres (higher than Salkantay pass) - maybe do this at the end of your trip. You are likely to feel it on the way down.
Day 8
We used our day 6 to wander around the street of Cusco, at this point we were pretty tired from our two-day trek a day earlier. We checked back into our hotel, the Tierra Viva Cusco Centro before getting lost in the streets of the historic town.

To start our journey, we went into the community of San Blas, a neighbourhood most widely recognized as the cultural and art district of Cusco - complete with coffee shops and galleries.
the L’atelier - sit on the balcony
Day 8
Join the locals for a Sunday Walk along Arequipa Avenue
Walk along the Malecon de Miraflores
Larcomar Shopping Mall
Admire La Marina Lighthouse
Museo del Pisco
Other Things We Would Recommend Visiting:
Arequipa
Paracas -
Laguna 69
Laguna Paron

Top Hikes In Banff And Area
The top hikes in Alberta includes Yates Mountain, Mount Smutwood (more challenging) and Grizzly Peak.
As a local Calgarian, one of the questions I most often get asked is which hikes are the best. Although it depends on skill level, view and any number of other factors there are a few hikes I would consistently recommend. For a more in-depth explanation of what to expect, consider downloading and referencing All Trails before planning your trip.

1.Yates Mountain
In my opinion, Yates Mountain is one of the top hikes in the Kananaskis area. Yates Mountain is considered moderate and for a moderate hike the view is one of the best I’ve seen. The best part is the good view isn’t at the top of the mountain so you don’t even have to finish it for good photos.

2. Grizzly Peak
On the challenging side, Grizzly Peak is probably the best hike in Kananaskis area although the steepest I had ever done. The best part is that before summiting, you arrive in a beautiful green field with local plants with views almost all around. There is significant sun exposure, especially in the afternoon. Therefore sunscreen is a MUST!

3. King’s Creek
Next on the list is very comparable to Grizzly Peak (as it is a neighbouring mountain). Although steep, there was little to no scrambling, making the views well worth the trek. This hike is probably the easier version of Grizzly Peak, although if you have the opportunity to both you should.
4. Pocaterra Ridge
It’s worth noting that if you want to do an out and back hike you can do just the one ridge, however there is also an option to cross the ridge and end at a second parking lot.

5. Rae Glacier
For a moderate hike, Mount Rae is also a leading contender. The only caveat is that compared to other moderate hikes there is a lot of gravel.
According to All Trails the hike is 8.2-km out-and-back trail that takes about 3 hours to complete.

2 Week North Italy Itinerary
It all begins with an idea.
From Canada we flew into Paris, which is typically a cheaper flight than flying into Rome. That being said if you can get to Rome directly, we recommend you start there. In Rome, we took the train from the airport into the city (about an hour) and with an early flight this meant a quick nap before exploring the city.
For those who have not travelled to Europe before, I recommend using the Trainline app to purchase your tickets which can help you avoid any line ups.

Day 1: Rome
Since you might need some time to adjust, we recommend using the first day to get lost in the streets. We ended up stumbling across most of the major attractions including


Day 2: Rome
Morning:
Start your day early with a visit to the Colosseum. Arriving early helps beat the crowds.
Explore the Roman Forum adjacent to the Colosseum, where you can see ancient ruins and temples.
Afternoon:
Head to Palatine Hill, the legendary birthplace of Rome, offering panoramic views of the city.
Visit the nearby Capitoline Hill and explore the Capitoline Museums, housing a vast collection of ancient Roman artifacts.
Evening:
Wander through the charming streets of Trastevere, known for its lively atmosphere and authentic Roman trattorias. Enjoy dinner at a local restaurant.
Day 2: Vatican City and Baroque Rome
Morning:
Visit the Vatican Museums early to avoid long lines and crowds. Explore the vast collection of art and sculptures, including the famous Sistine Chapel.
Stroll through St. Peter's Square and admire St. Peter's Basilica, the largest church in the world.
Afternoon:
Have lunch in the vicinity of the Vatican City.
Explore the Castel Sant'Angelo, a towering cylindrical building originally built as a mausoleum for Emperor Hadrian.
Evening:
Spend the evening exploring the Baroque landmarks of Rome. Visit the Spanish Steps and the nearby Trevi Fountain, throwing a coin to ensure your return to Rome.
Enjoy dinner at one of the many restaurants in the historic center.
Day 3: Cinque Terre
We did a day trip to Cinque Terre.
Day 4: Venice
Day 4: Travel to Venice, explore St. Mark's Square, visit St. Mark's Basilica and the Doge's Palace. Take a gondola ride along the canals.
Day 5: Spend a day wandering through the charming streets of Venice, visit the Rialto Bridge, and explore the neighborhoods of Cannaregio and Dorsoduro.
Day 6: Take a day trip to the nearby islands of Murano and Burano to see glassblowing and colorful houses, respectively.
Day 7-9: Verona and Lake Garda
Day 7: Travel to Verona, visit Juliet's House and balcony, explore the Roman Arena, and stroll along the Adige River.
Day 8: Spend the day relaxing at Lake Garda, enjoy water activities like swimming, sailing, or simply relax by the lakeside. Visit Sirmione and its Scaliger Castle.
Day 9: Explore the picturesque town of Malcesine, take the cable car up Monte Baldo for stunning views, and wander through the town's medieval streets.
Day 10-12: Florence
Day 10: Travel to Florence, visit the iconic landmarks such as the Florence Cathedral (Duomo), Giotto's Bell Tower, and the Uffizi Gallery.
Day 11: Explore the historic center of Florence, visit the Accademia Gallery to see Michelangelo's David, and wander through the charming streets of Oltrarno.
Day 12: Take a day trip to the Tuscan countryside, visit the towns of Siena and San Gimignano, known for their medieval architecture and stunning landscapes.
Day 12-14: Milan
Day 1: Arrival in Milan, explore the city center, visit the iconic Duomo di Milano, and stroll through Galleria Vittorio Emanuele II.
Day 2: Spend the day at Leonardo da Vinci's masterpiece, "The Last Supper," in the Santa Maria delle Grazie church. Explore the fashion district and shop in Quadrilatero della Moda.
Day 3: Take a day trip to Lake Como, enjoy the scenic beauty, visit Villa del Balbianello or Villa Carlotta, and take a boat tour on the lake.

Perfect Packing List for 10 Days in Central America
It all begins with an idea.
I recently had the opportunity to do a 10 day trip with one of my best friends, in which we visited two countries in Central America - El Salvador and Costa Rica. Although I have not yet perfected my packing lists, I think this trip I came a little bit closer to having everything I needed and would recommend to anyone doing a similar trip.
As a suggested list to get you started, I encourage you to reach out with any recommendations/additions that you would recommend as must-have items. Here is what we have so far:
Personal Item
In this case, since I did need to bring my laptop my personal item was a small backpack. However, I am all for travelling light whenever possible. So, laptop (which I have listed as an optional item) aside what I would ideally recommend is a personal item the size of the Uniqlo Round Mini Shoulder Bag. I know tons of people had recommended this bag in the past, I wasn’t convinced it would offer that much extra space than my Lululemon belt bag. However, it is big enough you can fit a small book or a plastic water bottle. If you decide to go this route, you might have to redistribute the following items …
Water bottle (Swell)
Money and a small change purse/wallet
Passport
Book (optional)
USB charger for airdrop
Extra power block and charging cable
Hairbrush
Laptop & Charger (OPTIONAL)
I have a remote job and typically try to do a day or two of work while away to maximize the number of trips I can do each year. Since, you might have different circumstances this is an optional item. I felt safe taking my old laptop around with me and my backpack has a secure place to store it, however, if you don’t need your electronics you can avoid this item altogether and pack a little bit lighter.
Carry-On
I use the Osprey Fairview 40 Women’s Travel Backpack and a set of cheap packing cubes from Amazon, although I have heard the compression packing cubes are well worth the investment. So these are the ones I am considering. Open to hearing if these are in fact better from anyone that has tried them in the past.
1 pair of jeans
Black tank top
White tank top
Black puffer (that can roll up)
Black hoodie
1 pair of runners (you might need two if you plan on hiking) In this case our hikes were moderate and I brought my Air Forces.
Sun hat or baseball cap (I recommend baseball caps which pack better)
Underwear (one per night in case laundry unavailable)
Pajamas
Cover up
Silk skirt
Black t shirt
White t shirt
Tan shorts
Biker shorts
Effortless pants
Sandals (Tevas) - Link here
I know this one is not always a popular choice. However, after seeing these sandals come up on TikTok consistently and purchasing a pair to try, I highly recommend any “backpacker” or otherwise traveller consider them. They are comfortable for walking, good for rocky beaches (which we experienced in El Salvador) and since they are waterproof are great for showers that you might have to share.